The Beginner's Guide to Sourdough Bread
How to Bake Your First Crusty, Tangy Loaf from Scratch
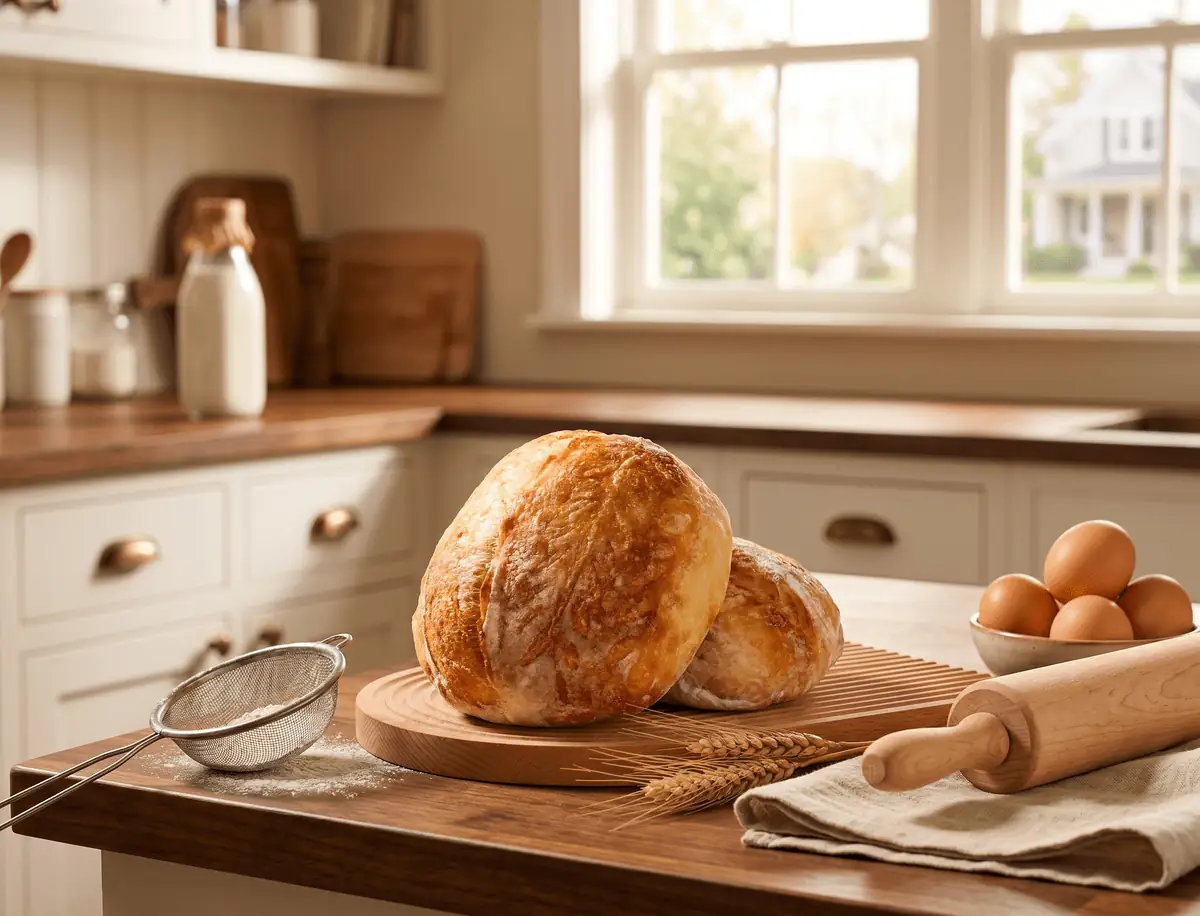
Sourdough bread isn't just a trend — it's a return to traditional baking. With its crisp, golden crust, airy crumb, and signature tang, sourdough delivers flavor and texture that commercial yeast simply can't match.
If you've ever wanted to bake artisan bread at home, this comprehensive guide will walk you step-by-step through the entire sourdough process — from creating a starter to pulling a beautifully baked loaf from your oven.
Whether you're a complete beginner or ready to refine your technique, this is your roadmap to homemade sourdough success.
What Is Sourdough Bread?
Sourdough bread is naturally leavened using a sourdough starter, a living culture made from flour and water that captures wild yeast and beneficial bacteria from the environment.
- Unlike commercial yeast, sourdough fermentation:
- Develops deeper, more complex flavor
- Improves digestibility
- Produces a chewier texture
- Extends shelf life naturally
- Requires no additives or preservatives
The slightly tangy flavor comes from lactic acid bacteria formed during slow fermentation — the hallmark of authentic sourdough.
The Complete Sourdough Process (Beginner Overview)
At first glance, sourdough baking may seem complicated. In reality, it's a structured process built around fermentation and timing.
Here's the simplified roadmap:
1.Create and activate your sourdough starter
2.Mix flour, water, starter, and salt
3.Stretch and fold the dough during bulk fermentation
4.Shape the dough
5.Proof (rise) the dough
6.Score and bake
7.Cool completely before slicing
Once you understand this rhythm, sourdough becomes intuitive.
How to Make a Sourdough Starter (7-Day Beginner Plan)
Your sourdough starter is the foundation of great bread. Think of it as a living culture that needs feeding and warmth to thrive.
Ideal Conditions
Temperature: 75–82°F (24–28°C)
Flour: Unbleached bread flour or whole wheat flour
Water: Filtered, room temperature
Day 1 – Create the Starter Base
Mix:
20g fresh orange juice
20g whole wheat flour
Stir until smooth. Cover loosely and rest at room temperature.
(Tip: Orange juice helps jumpstart fermentation in early stages.)
Day 2 – First Feeding
Add:
40g bread flour
40g water
Mix well.
Day 3 – Strengthen the Culture
Discard all but 40g of starter.
Add:
40g bread flour
40g water
Repeat daily.
Days 4–6 – Build Activity
Continue discarding and feeding at a 1:1:1 ratio (starter : flour : water).
By Day 6, your starter should:
Double or triple in volume within 4–8 hours
Show bubbles throughout
Smell mildly tangy, fruity, or yeasty
Long-Term Maintenance
After baking:
Feed at 1:1:1 ratio
Let it become active
Store in the refrigerator
Feed once per week
Before baking again, bring to room temperature and feed 1–2 times until vigorous.
Essential Tools for Baking Sourdough at Home
Having the right equipment improves consistency and results.
Clear Glass Jar
For monitoring starter growth.
Digital Kitchen Scale
Accuracy matters. Always measure in grams.
Large Mixing Bowl
Preferably glass or ceramic.
Bench Scraper or Rubber Spatula
For handling sticky dough.
Banneton (Proofing Basket)
Helps shape and support the dough during final rise.
Bread Lame or Razor Blade
For scoring the loaf before baking.
Dutch Oven or Baking Steel
Creates steam for professional-level crust.
Cooling Rack
Prevents soggy bottoms after baking.
Classic Country Sourdough Recipe (Beginner-Friendly)
Ingredients
700g bread flour
500g water (room temperature)
150g active sourdough starter
20g fine sea salt
Day 1: Mix & Bulk Fermentation
Step 1: Autolyse (Optional but Recommended)
Mix flour and water until no dry flour remains.
Rest 30–60 minutes.
Step 2: Mix
Add starter and salt. Mix thoroughly.
Step 3: Stretch and Folds
Over 2–3 hours, perform 3–4 sets of stretch and folds every 30 minutes.
Step 4: Bulk Fermentation
Let the dough rest 6–10 hours at 70–75°F.
It should increase 30–50% in volume and look airy.
Day 2: Shape, Proof & Bake
Step 1: Pre-Shape
Gently form into a loose round. Rest 20–30 minutes.
Step 2: Final Shape
Shape into a boule (round) or batard (oval).
Place seam-side up in a floured banneton.
Step 3: Final Proof Options
Room Temperature: 1–3 hours
Cold Retard (Recommended): Refrigerate 8–16 hours for enhanced flavor.
Step 4: Preheat Oven
Preheat Dutch oven at 475°F for at least 45 minutes.
Step 5: Score
Invert dough onto parchment.
Make one confident ¼-inch deep slash.
Step 6: Bake
20 minutes covered at 475°F
15–20 minutes uncovered at 450°F
Bake until deep golden brown
Step 7: Cool (Critical Step)
Cool on rack for 3–4 hours before slicing.
Cutting too early results in a gummy crumb.
Pro Tips for Perfect Sourdough Bread
1. Temperature Controls Fermentation
Warmer = faster rise.
Cooler = slower, more flavor development.
2. Watch the Dough, Not the Clock
Every kitchen environment is different.
3. Don't Skip the Cooling Stage
Internal crumb structure finishes setting as it cools.
4. Store Properly
Store cut-side down at room temperature for 2–3 days
Slice and freeze for longer storage
Why Sourdough Is Worth the Effort
Sourdough baking builds patience, skill, and sensory awareness. It transforms simple ingredients — flour, water, salt — into something deeply satisfying and nourishing.
Your first loaf doesn't need to be perfect. It just needs to be baked.
With each attempt, your understanding of fermentation, texture, and timing will grow.
And that's when sourdough shifts from recipe… to craft.
Ready to Start Baking?
If this guide helped you begin your sourdough journey, share your results or tag us in your baking photos. We love seeing our community create beautiful, crusty loaves at home.
Happy baking!